Spread the love

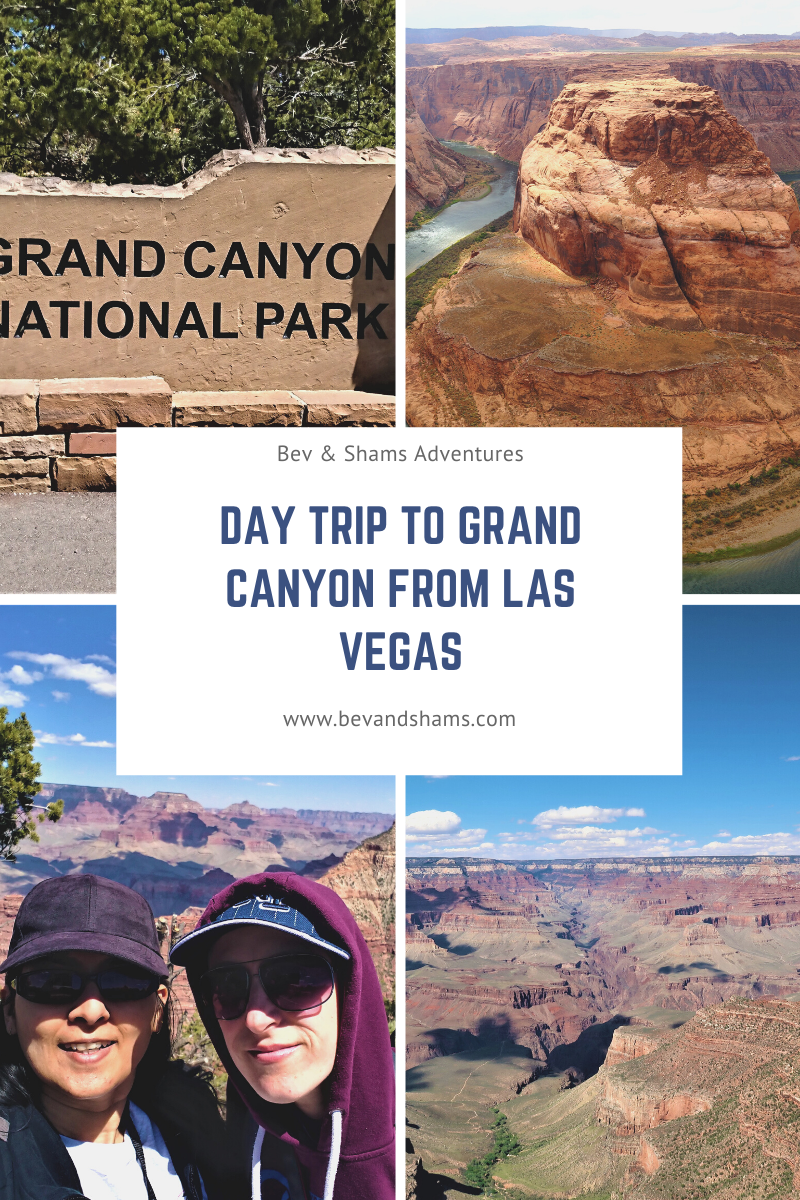
The Grand Canyon is one of the world’s most iconic landmarks. This colossal canyon was carved by the Colorado River over millions of years. But with its sheer size and beautiful coloured rock formation, it makes this a once in a lifetime destination to visit.  

But if you’re feeling stressed out with planning your day trip to the Grand Canyon and balancing the limited time constrains with seeing the highlights, then we have it covered in this ultimate guide to a day trip to the Grand Canyon.  

We’ll take you through everything you need to know, to help you plan a seamless and unforgettable day trip.  

We include tips on transportation options, what to pack, the must-see spots and more. Our firsthand experience of taking a day trip to the Grand Canyon from Las Vegas, will help you navigate the common problems you may encounter.  

On your day trip to the Grand Canyon, you’ll be rewarded with scenic viewpoints, the options of short hikes, to thrilling helicopter rides and rafting for you adventure travellers.  

So, if you crave adventure, but are pressed for time, these practical tips and insider insights will help you to maximise your day trip, leaving you with nothing but memories.  

There may be affiliate links within this article, using these links will not cost you anything extra, but we may earn a small commission. Thank you for your support. 

Planning your day trip to the Grand Canyon 

A day trip to the Grand Canyon can take some careful planning. We have some useful tips to help you make the most of the limited time.  

Choose the Rim – North, South, East or West 

To maximise your time, plan which of the Grand Canyon Rims that most interest you. 

South Rim – The most popular out of the four and open all year round. The South Rim offers the most amenities, stunning views and trails.  

The bright layers of colour at the Rim are prominent at Mather Point and Bright Angel. We took a group tour, with only 1 hour at Mather Point and 1 hour 30 minutes at Bright Angel, which gave us a small amount of time to explore these regions. 

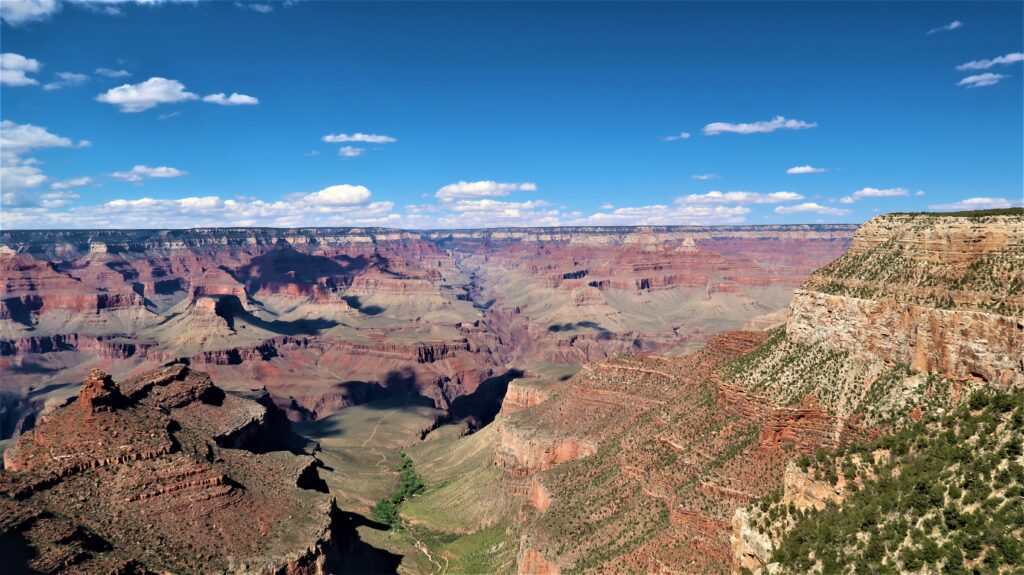
Grand Canyon South Rim

North Rim – Not as popular and ideal if you want to avoid the crowds. Although it is only open from mid-May to mid-October.  

If you’re looking for a quieter and more secluded experience, then the North Rim is the preferred choice. 

West Rim – The closest of the Rims to Las Vegas and home to the new Skywalk, that juts out over the Rim. Take a wander out over the glass Skywalk for views of the canyon below.  

East Rim – Not as well-known as the other North, South or West Rim of the canyon, but offers a unique experience.  

Best time to visit  

The Grand Canyon is an all-year-round destination. Your preference will determine when is best for you.  

Budget travellers like us, prefer to travel during spring and autumn. The weather is still good, while it is less crowded, and we have a better chance to make some saving, as costs are normally cheaper around this period. 

During the summer months, the weather is hot and a lot busier.  

Winter has the least crowds but can be cold with temperatures between 4-10 °c, with some Rim closures such as the North Rim.  

Choosing the best time to visit will depend on the activities you plan to do. But each season will offer a different perspective.   

How to get there 

We would recommend either driving to the Grand Canyon or a bus tour. Public transport is available, but with only a day, taking public transport wouldn’t give you enough time to explore or experience one of the Seven Wonders of the World. 

We took a bus tour as it was the most convenient way to see the Grand Canyon without planning the logistics.  

But with careful planning, you could easily drive. 

We share some helpful tips on how to get to the Grand Canyon, so you can choose which option is suitable for you. 

Bus tour 

We mentioned that we took a bus tour from Las Vegas, which dropped us off at 2 points along the South Rim.  

We stopped off at Mather Point for about 1 hour and then 1.5 hours at Bright Angel.  

This was the most convenient, as we didn’t have to drive or plan the route to the South Rim. A light breakfast and lunch are included in our tour along with pick up from our hotel and drop off.  

With a bus tour however, you can’t be flexible with the schedule and can be expensive, especially if you’re travelling as a family or group.  

Self-drive 

This is a popular option and a flexible way to experience more of the Grand Canyon within less than 24 hours.  

The main route from the Grand Canyon is from Las Vegas, but you can drive from Los Angeles, Pheonix, Alburquerque, San Diago and more.  

Driving from Las Vegas should take around 4+ hours depending on traffic and if you’re visiting the South, North, East or West Rim. 

Don’t forget to have enough fuel or stop for fuel and rests during the trip.  

The advantage of self-driving is that it’s flexible, you can explore at your own pace, and you can visit multiple locations. 

However, driving is tiring, and you’ll need to plan where to park during the trip. During peak season, parking might eat into your time and difficult to find.  

Choosing the best method of transport will depend on your preferences, how flexible you want to be and budget.  

Tips for finding deals on transportation 

Book transport in advance to find the best deals and to avoid disappointment. If you plan to spend longer than 1 day in the Grand Canyon, then book accommodation in advance and plan your itinerary. 

Check for any available discounts. Such as concessions for seniors or young children, student discount with proof of student ID, etc. 

Prices and crowds drop during off peak season and the shoulder months, consider travel during these times to benefit from possible savings. 

Compare prices with rental cars, accommodation providers and bus tours. Choose the right deal that is for you.  

What to pack 

Climate changes regularly at the Grand Canyon, so packing the essentials for a day trip is important. It will keep you comfortable, safe and ready for an adventure.  

Water 

Stay hydrated with a bottle of water or hydration bladder. We would recommend packing at least 2 litres of water per person.  

Use reuseable water bottles as they are better for the environment and discarded plastic bottles will detract the beauty away from the Canyon.  

Snacks and food 

Pack energy bars, trail mix or fruit as these are excellent sources of fuel that will provide you with energy for hiking the Grand Canyon or exploration. 

To keep to a shoestring budget, pack a picnic. This is romantic, or great for the family. Bring something that is small and easy to make, such as a sandwich, wrap or pasta.  

Clothing 

With varying temperatures during the day, you’ll want to pack layers that are comfortable and lightweight.  

Pack a lightweight jumper or fleece and waterproof outer layers to keep you dry from wet weather conditions. 

Hat and sunglasses will protect you from the elements of the sun. 

Sturdy and comfortable hiking boots or shoes will support the feet, provide you with good traction on the trail. 

Pack an extra pair of socks and change them during the day if required. This will help to keep your feet feeling fresh and dry if your feet get wet or sweaty. 

Sun protection 

As someone who is prone to sun burn, it is essential to protect the skin from sun burn and SPF 50+ will help to prevent the discomforts of sun burn. 

Maps & navigation 

If you are planning on hiking along some of the most amazing trails, then a map and GPS device is a must.  

A map and GPS will prevent you from getting lost, which could be dangerous, especially if you go off course.  

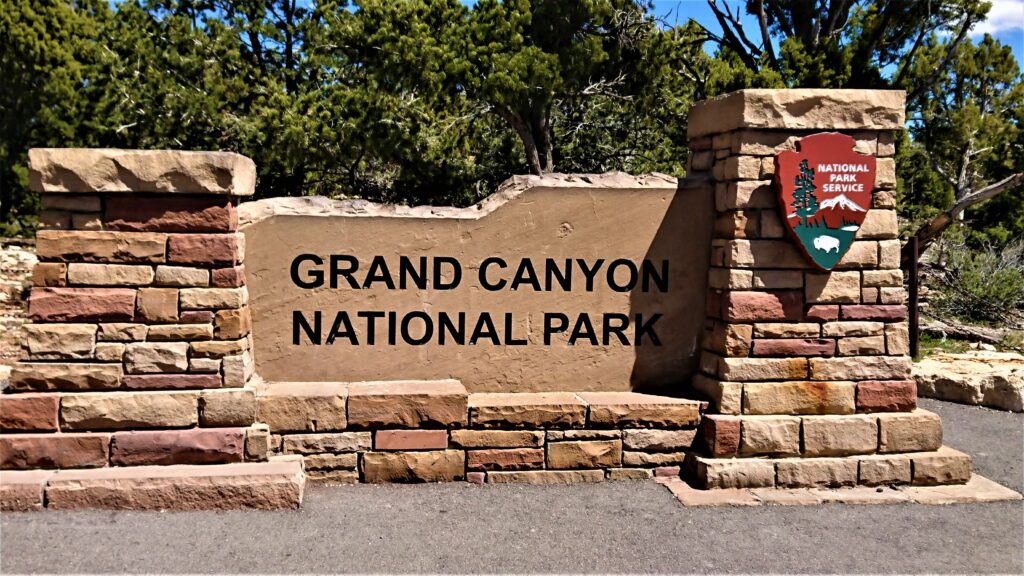
Grand Canyon National Park

First aid kit 

A basic first aid kit is a must. Pack plasters, antiseptic wipes, pain relievers, blister plasters and any medication. 

If you graze yourself, cut yourself or become unwell, you will have some basic medical supplies to keep you going for the day.  

You can find a full list of what to pack in your travel first aid kit here.  

Backpack 

A comfortable and lightweight backpack will carry all your essential items for the day. 

We don’t leave home without our Osprey daylite backpack. Need a backpack, then you can check out our recommendations with these best backpacks to purchase

Plan your itinerary 

To make the most of the limited time available at the Grand Canyon, you’ll need to have a carefully planned itinerary. 

To maximise your time, plan to arrive early morning and leave late afternoon evening.  

The bus tour we booked, picked us up from the hotel at around 6am in the morning. We were taken to a location for a light breakfast, before we continued the 4-hour journey. We stopped for lunch, before being taken to our first point on the South Rim. 

We would recommend leaving at around 6am in the morning to maximise your time and to get to the Grand Canyon as early as possible.  

Plan your stops, including breakfast, lunch and the key points you wish to stop off on the Canyon. If you are visiting the South Rim, we would recommend Mather Point and Bright Angel.  

If you have the time and you enjoy hiking, then you could include hiking some of the Bright Angel trail. 

On the West Rim, there is the Skywalk, that will take you over the edge of the Canyon offering different views.  

There are plenty of things to do at the Grand Canyon, such as take short hikes, visit Instagram worthy spots for the best picture opportunity, have a romantic or family picnic. You could also include a unique helicopter tour or rafting excursion to add a different perspective. 

With so much to do with limited time, planning is essential for a smooth, hassle-free trip and to maximise your time spent on a day trip to the Grand Canyon.  

Arrival at the Grand Canyon 

On arrival to the park, you’ll be excited for the adventure ahead of you, just as we were on our trip.  

But before you enter, here are some things to expect.  

Entrance fees 

Whether you have arrived by car, bus tour or helicopter ride, you’ll need to pay for entrance fees into the park. Some tours include the entrance fee, check this before travelling and purchase tickets in advance if required.  

The current entrance fees to the Grand Canyon are:  

Private vehicle: $35.00  

Motorcycle: $30.00 

Per person: $20.00 

You can purchase the tickets online in advance or upon arrival.  

Free entry to the Grand Canyon National Park is available on certain days. You can find out more about fees and free days at Grand Canyon National Park. 

 Visitor Centre 

On the South Rim, start your adventure from the Grand Canyon Visitor Centre. You can pick up maps, explore the exhibition and speak to rangers about the latest updates and trail conditions.  

There is a visitors’ centre at the North and West Rim, offering insightful information about the Grand Canyon and offers essential information you’ll need for your visit.  

Things to do at the Grand Canyon 

There is plenty of adventures to be had at the Grand Canyon, from casual sightseeing to hiking and more. Here are some of the things we would recommend doing on a day trip to the Grand Canyon 

Hiking trails and viewpoints to explore 

If you’re just looking to do some sightseeing without hiking, then we would recommend Mather Point and Bright Angel on the South Rim. 

Mather Point 

Just a short walk from the South Rim Visitor Centre, Mather Point offers panoramic views. The deep orange and red layers of rock is a spectacular sight and one not to be missed.  

This is the perfect Instagram worthy spot. If you can arrive for sunset or sunrise, you’ll be in for a treat.  

With several different viewing platforms along the South Rim, take the opportunity to explore the region and the different scenic views from each point.  

If you have the time, take the Rim Trail and be rewarded with stunning views. Walk about 50 minutes to 1 hour and you’ll reach Bright Angel Trailhead at Grand Canyon Village on the South Rim. 

Bright Angel 

Another iconic spot on the South Rim is Bright Angel, offering exceptional views of the Grand Canyon.  

We spent 1 hour 30 minutes on our bus tour, which gave us time to wander a short distance along the Bright Angel Trailhead and enjoy the facilities at Grand Canyon Village.  

If you have longer than a day to spend, we would recommend allocating at least 48 hours to hike the Bright Angel Trailhead. This route takes you down to the Colorado River below.  

If we had the time, we would have enjoyed the strenuous but rewarding hike, as it is a once in a lifetime opportunity.  

Other viewpoints to consider 

Yavapai Point and Geology Museum, located on the way from Mather Point to Bright Angel Trailhead.  

You can learn about the geological history of the Grand Canyon, but also enjoy the views. 

If you are driving, then Desert View Watchtower offers 360-degree view once you have climbed to the top of the tower, and you can learn about Native American culture.  

Eagle Point and skywalk located on the West Rim, offers a thrilling view down into the Grand Canyon.  

Hiking trails  

I wish we had time to explore some of the trails at the Grand Canyon, but we merely didn’t have the time. We are planning to return and spend at least 2 nights which will include one of these hiking trails.  

But if you plan your itinerary and can include a day hike or a multi-day hike, then these routes would be suitable for you.  

Rim Trail (South Rim) 

This 13-mile route along the South Rim from South Kaibab Trailhead to Hermit’s Rest, is one of the easier and a leisurely hike. The route takes you along the edge offering stunning views of the Canyon.  

The trail is paved and well maintained, with some shade spots along the way.  

The route includes Mather Point, Yavapai Point, Grand Canyon Village and Hermit’s Rest.  

If the route becomes challenging or you run out of time, there are shuttle buses to take you to any point along the South Rim.  

This is a versatile hike, which is ideal for all ages and experiences.  

Taking a hike along the South Rim, is the ideal way to make the most of the experience at the Grand Canyon. 

Bright Angel Trail (South Rim) 

A far more challenging hike, which descends into the Canyon on a well-maintained trail.  

The starting point is at Bright Angel Lodge in the Grand Canyon and the route takes you down to the Colorado River, with an elevation change of over 4500 feet. 

This is one of the most scenic and popular routes, with a different perspective as you head into the Canyon.  

The distance from Bright Angel Trail to Bright Angel Campground and Phantom Ranch is nearly 10 miles. The hike shouldn’t be completed within 1 day, due to safety reasons.  

There’s a couple of campsites along the route, but a permit is required. 

If you don’t have the time for the entire trail, then split it up into sections, so you have enough time to hike back to the start point.  

This is the hike we would love to do but would spend at least 2 nights in the Grand Canyon to make the most of the trip. 

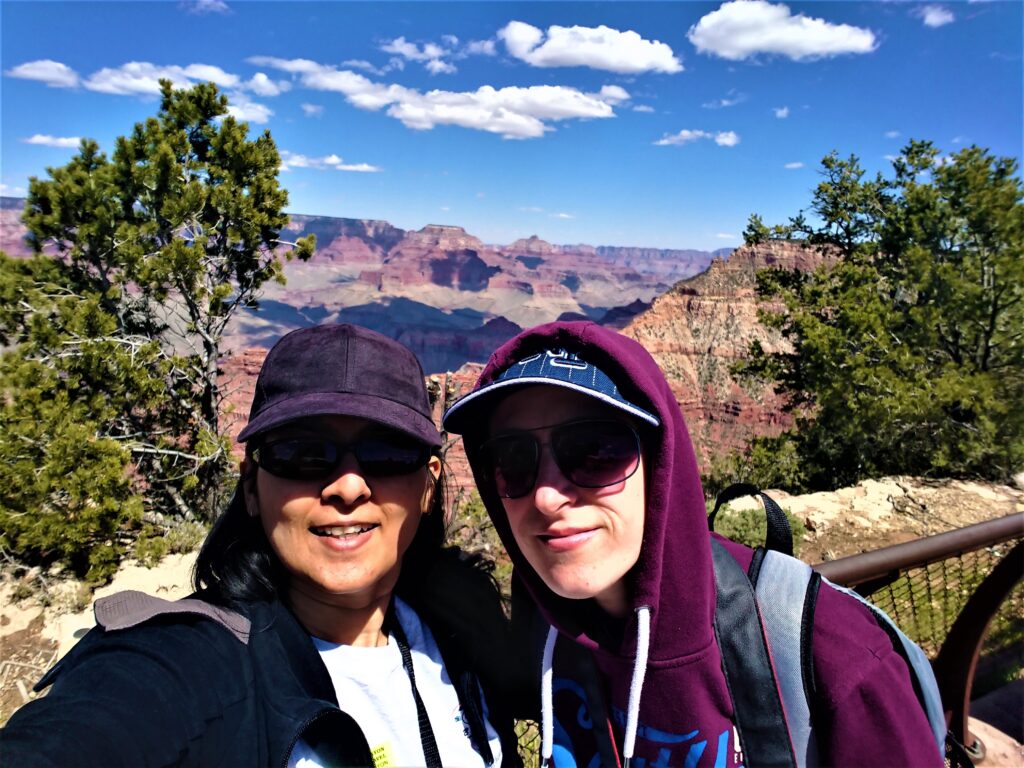
The hat and jumper is protecting us from the sun and the cool climates

South Kaibab Trail South Rim 

This well-defined and maintained dirt trail is steep and has little shade but offers some of the best sweeping vistas and unobstructed views of the Canyon. 

Start at South Kaibab Trail, with stopping off points at Ooh-Aah Point, which is just under 1 mile there. Continue onto Cedar Ridge at about 1.5 miles and then Skeleton Point which is about 3 miles. For a round trip the distance is around 6 miles in total.  

During the summer months, due to the weather conditions, it is advisable not to proceed past Cedar Ridge on a day hike.  

If you’re limited on time, consider just the short hike of less than 1 mile to Ooh-Aah Point.  

Note, there is no water stations along the route and toilets are located at Cedar Ridge.  

North Kaibab Trail (North Rim) 

This route is not for the faint of hearts, being the most difficult of the trails at the Grand Canyon, but the least visited.  

The North Kaibab Trail is 1000 feet higher in elevation than the South Kaibab Trail and will take you down deeper into the canyon.  

On this trail, you’ll get to experience different ecosystems and incredible views. The distance from the trailhead to Bright Angel Campground is around 14 miles, which will take between 5-8 hours to complete depending on your pace.  

Portable water is available along the different points of the trail and is seasonal. So, make sure you have packed enough water for the journey and distance.  

Camping is available and a permit is not required, but you must camp at a designated campground.  

If you only have a short time, consider hiking only a small section of the route, before turning back.  

This is another trail we would love to complete, but we would need to get some training in before we try the challenging route.  

Guided tours and activities available 

A bus tour was an excellent way for us to experience the Grand Canyon, without planning the logistics and driving.  

If you would prefer a guided tour, be that a bus tour, a helicopter tour, or hike the Grand Canyon with an experience guide, then these are our top recommendations. 

You can book any of the awesome tours, just by clicking the link. 

Dining options at the Grand Canyon 

Our bus tour to the Grand Canyon included lunch and dinner, but these meals were not provided at the Grand Canyon itself. However, we noticed some lovely dining spots in the area, perfect for keeping you fuelled throughout the day. 

Restaurants and cafes  

  • El Tovar Dining Room – Located on the South Rim within the Grand Canyon Village, the spot offers great views of the canyon while you eat. 
  • Bright Angel Restaurant – On the South Rim, close to the Grand Canyon Visitors Centre and just a short walk to Mather Point.  
  • Arizona Room – Not far from El Tovar Dining Rooms, offering panoramic views of the canyon. 
  • Deli in the Pines – If you’re looking for food on the go, then this is the place to come. Located on the North Rim, ideal with hikers looking to take food on the trail. 
  • Skywalk Café – This little spot is close to the Skywalk and another spot for food on the go. 

Picnic areas 

The Grand Canyon offers some of the most amazing views and what better way to enjoy them, than with a picnic. Picnics are not only a budget friendly way to travel, but are romantic if you’re travelling as a couple or great if you’re travelling as a family. 

There’s plenty of picnic spots within the Grand Canyon and here are some recommendations: 

  • Mather Point Picnic Area – Located within a short distance from the Grand Canyon Visitor Centre. Picnic tables, toilets and plenty of parking available. 
  • Point Imperial – The highest point on the North Rim, but offers some of the best views of the Canyon with less crowds. Picnic tables, toilets and parking available.  
  • Cape Royal – You may get a glimpse of the Colorado River from Cape Royal Picnic area. Picnic tables and toilets.  

Safety Tips for visiting the Grand Canyon 

Visiting the Grand Canyon is an amazing experience and one we can’t wait to do again, but you also need to stay safe while travelling.  

On our trip to the Grand Canyon, we kept these safety tips in mind, which we share with you.  

Plan ahead 

While this may not sound like an obvious thought, it will keep you safe.  

By researching the Grand Canyon, you can familiarise yourself with the layout, trails and even plan the trip around the weather conditions on the day.  

It’s a good idea to plan which Rim will be suitable for you and then you can plan your activities. 

If you’re planning to hike one of the trails or camp, you may require a permit. 

By researching and planning ahead, you’ll stay safe, be organised and you can maximise your adventure in such a short period of time.  

Pack plenty of water and food 

Due to the different weather conditions at the Grand Canyon, you will need enough water to keep you hydrated during the trip.  

We would recommend carrying around 2 litres if not more for the day. Whether you plan to hike a short trail or just select a spot for a picnic, you can still dehydrate, which could put you or others at risk. Water is essential. 

Food is also just as important as staying hydrated. You’ll need enough fuel to keep you going. Pack some snacks that will provide you with enough energy, such as nuts, dried fruit, energy bars etc.  

Budget travellers should pack a picnic, not only will it keep costs low, but you can pack a wide range of food for you and the family. Include food that’s full of protein and carbohydrates to fuel your body in the right way. A sandwich is cheap, compact and ideal for a picnic. A pasta dish is another alternative that’s cheap and can be eaten cold. Include protein such as eggs, chicken, ham etc.  

By fuelling your body with the right food and drinking plenty of water, you’ll have enough energy to keep you going. 

Dress appropriately 

Depending on the time of year, you’ll want to pack sun protection and clothing that will keep you warm. 

During the hot conditions, sun screen, a hat or cap and sunglasses will protect you from the intense sun.  

Even in hot conditions, the canyon floor could be considerably cooler. Pack layers, in the event conditions are cooler than expected.  

Trail Safety 

Stay on the marked trail and don’t wander off designated paths. This will prevent you from getting lost or encountering dangerous terrain.  

Depending on your fitness level and experience at hiking, choose a route that is suitable for you. Going down into the steep canyon is far easier than climbing back up.  

Take a map and GPS to prevent you from getting lost or going off the trail. 

Pace yourself and don’t overdo it, as you could cause an injury or dehydrate.  

Take care of your surroundings when taking that Instagram worthy picture and don’t get too close to the edge.  

Be weather aware 

Regularly check the weather conditions as these could change suddenly. Pack layers, waterproof clothing and sun protection to protect you from the elements.  

Leave early in the morning to avoid the midday heat. 

In case of emergencies 

Include a small, compact first aid kit that includes the essentials like plasters, antiseptic wipes, pain relievers etc. This will help you get back on the road, in the event of a minor injury or illness.  

There is very limited mobile phone signal on the Grand Canyon, even at the top of the Rims. Have a whistle to draw attention in the event of an emergency. 

Travelling as a family 

I nearly lost Shams on the Grand Canyon, so it’s easy for couples or families to lose a member of the group. Set a meeting point, for everyone to meet back at, at a certain time.  

If travelling with small children, always keep an eye on them. It is so easy to lose someone. If required, use child harnesses. 

Teach young children to stay a safe distance from the edge of the Rim, stay on marked trails and the dangers of wandering off.  

Leave no trace 

This is so important to us. Who likes to see rubbish just dumped? I know that we hate it and it can really distract you from the beauty of a destination. 

We have a small rubbish bag, which we place all our rubbish during the day and discard it in a bin at the end.  

Plastic is a large problem throughout the world, we avoid plastic water bottles, plastic bags etc and find ways to dispose of our rubbish in an environmentally friendly way.  

Ranger stations 

Ranger stations have a wealth of knowledge, from the latest safety information and advice. Utilise their knowledge and get the best from your experience.  

Conclusion 

The Grand Canyon is packed with plenty of adventures, from hiking into the canyon, taking a helicopter ride and getting a bird’s eye view, to camping or picnicking while admiring the layered red rocks that’s formed over millions of years.  

This amazing adventure shouldn’t hold you back as you’ll be missing an incredible opportunity. By researching and planning your trip, you’ll maximise your time and get to see all the great things the Grand Canyon offers you.  

If you are limited on time and don’t want the hassle of planning the logistics, then book a bus tour, it was a good decision for us, as it gave us a chance to experience the Grand Canyon.  

This ultimate guide to spending one day in the Grand Canyon has captured the true essence of this grand adventure, without feeling rushed or overspending and our firsthand experience and insights allow you to have a smooth and enjoyable experience. 

Continue your travel planning, with these useful posts:

Day trip to Grand Canyon
How to take a day trip to the Grand Canyon
Day trip to the Grand Canyon from Las Vegas